I found the binding process to be quite rewarding, on par with creating the rosette. For materials I decided to use strips of sipo mahogany and black-white-black laminate just as I had done for the back strip (since the neck was also made of sipo mahogany I figured it would help tie everything together). The first step I took was to rout a channel with a depth of about half the thickness of the sides on the bottom of the guitar as shown below.
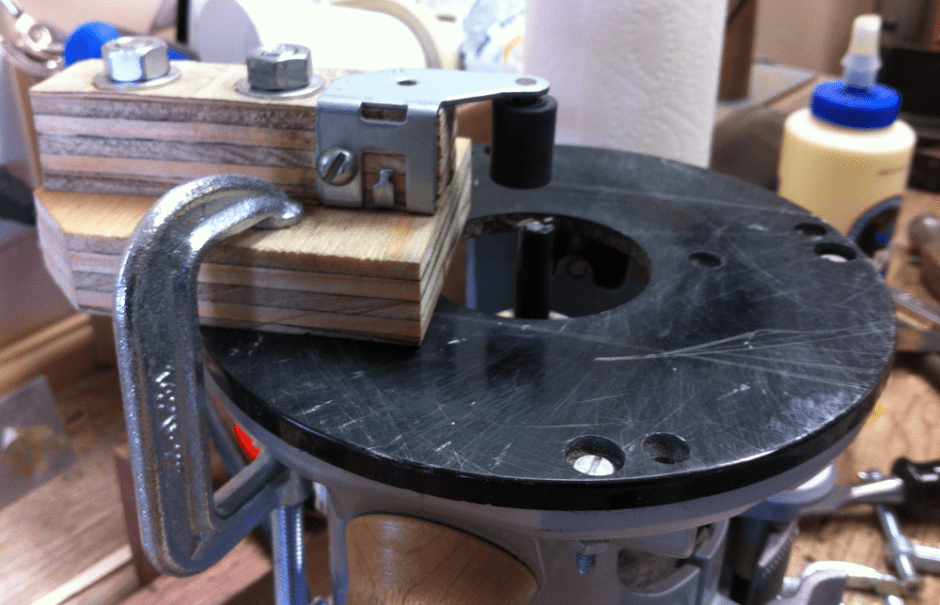
Next I had to rout out channels along the edge of the body to fit the sipo mahogany and laminate strips. To do that I made my own router roller guide out of old VCR parts. It more or less did the job, although the roller bearing had a little too much play in it and that ended up causing me a little bit of problems later on. The first pass at routing the edge channels is shown below.
After all the channels were routed out I glued the binding into the bottom channel. That part was easy since it was flat and I didn’t have to bend any of the wood.
Next I glued in all of the laminate strips, taking a lot of time to make sure the layers matched up nicely. I used tape to hold the strips down while the glue dried which I found worked pretty well. The installation process wasn’t really as hard as I’d initially imagined. I started at one end and got the joint to match up the way I wanted and then proceeded to glue the strip down a little bit at a time until I got to the other end and then I slowly cut back the strip with a chisel until I got that joint to match up just the way I wanted it.
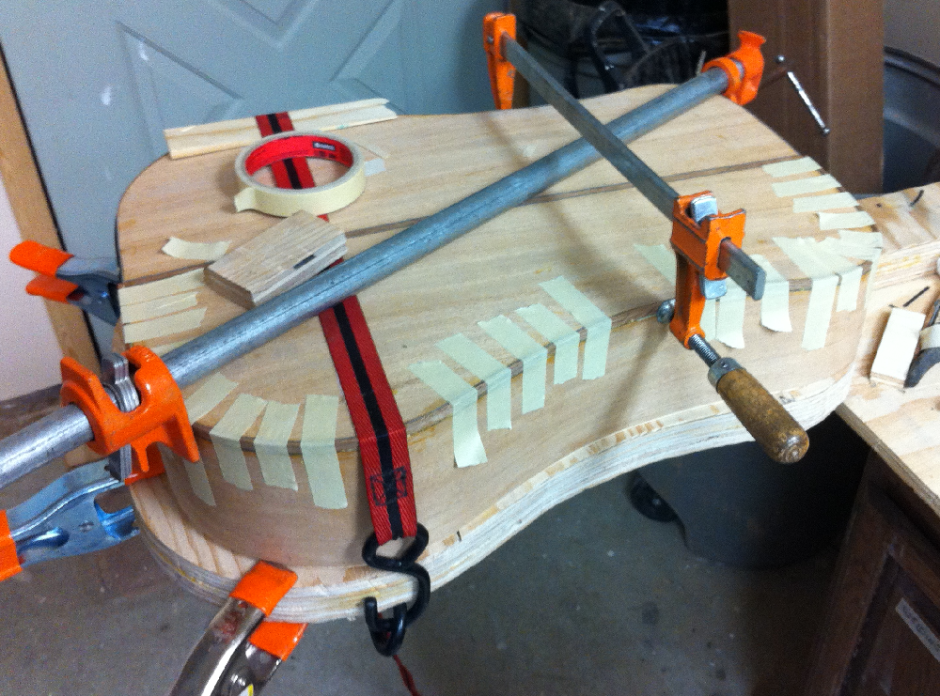
The wood strips were glued in last. I had to pre-bend them to fit the contour of the guitar using the bending iron I’d made. It wasn’t as hard as bending the sides, but I still found it challenging (there were a few cracked strips). I used a combination of tape and clamps to glue the strips in.
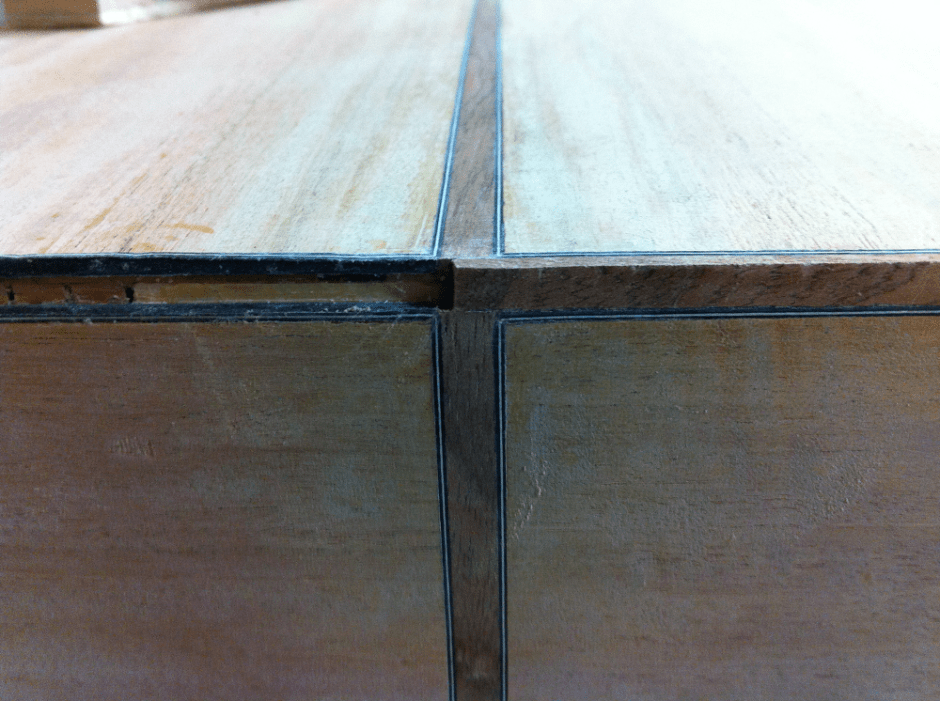
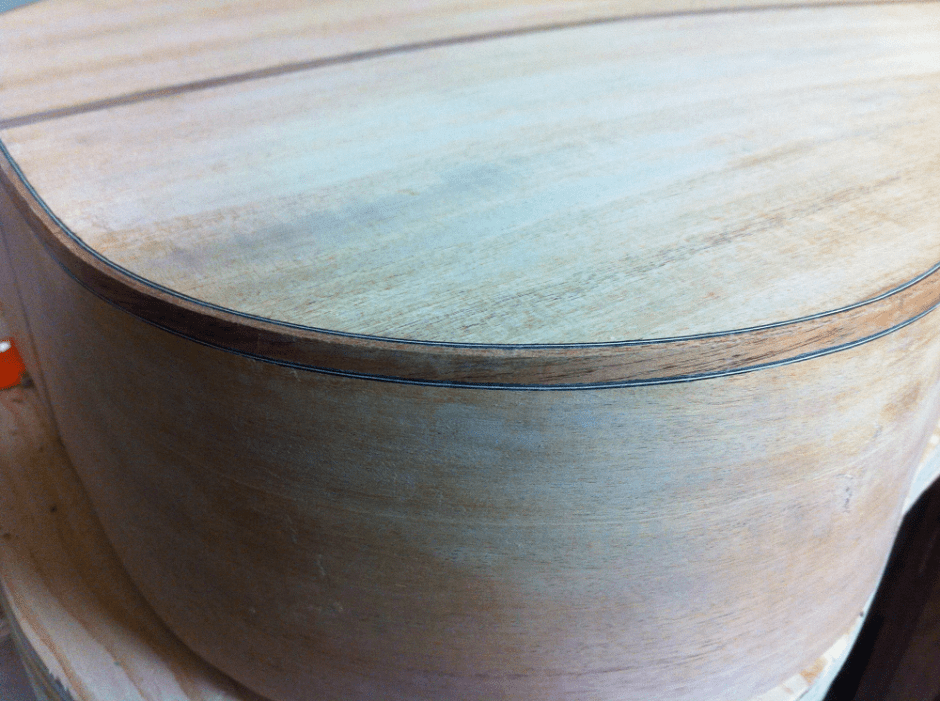
Once the glue dried I used a scraper to bring the wood binding and laminate flush with the body. The results are shown below.
I was pretty happy with how it turned out, using the laminate between the wood binding and the guitar body helped to hide any gaps that existed between the wood binding and the guitar body. With the body pretty much complete the next step was to cut the dovetail joint and install the neck.
| < Back | The Build Process | Next > |
Planning and Design | Fret Spacing Calculation | Template and Workboard | Building the Neck | Making the Body Plates | Soundhole Rosette | Soundboard Bracing | Bending the Sides | Gluing Sides to the Soundboard | Creating and Installing the Back Plate | Binding the Body | Making the Dovetail Neck Joint | Carving the Neck | Making the Fretboard | Making the Bridge | Creating the Headstock Inlay | Finishing | The End Product


Did you apply a sanding sealer or lacquer to the top before routing to prevent rip out along the edge? It is recommended in the book I’m following.
I didn’t, but it sounds like a great idea to me!
Sanding filler on the soundboard deadens the sounds as I have learned I’m still trying to find out how to finish a soundboard
That makes sense to me.