I didn’t want to stain or color my guitar. I just wanted a simple clear coat. I hemmed and hawed about which method to use, but I eventually broke down and bought a spray gun and used some nitrocellulose spraying lacquer that I got from Stew-Mac. I’m glad I did, spraying was a lot easier than I thought and there’s no way I would have been able to get the lacquer spread as uniformly as I did with a brush.
Before I began spraying lacquer I carefully went over the whole guitar with some fine sandpaper and made sure everything was as smooth and finished as I could make it. Then I used a vacuum to get the dust out of the pores in the wood and finished off by wiping the guitar down with a damp cloth. Next I taped off the location of the bridge and the fretboard. I didn’t have a really long ruler to position the bridge off of the face of the nut so I just used a tape measure as shown in the picture below, it worked just fine.


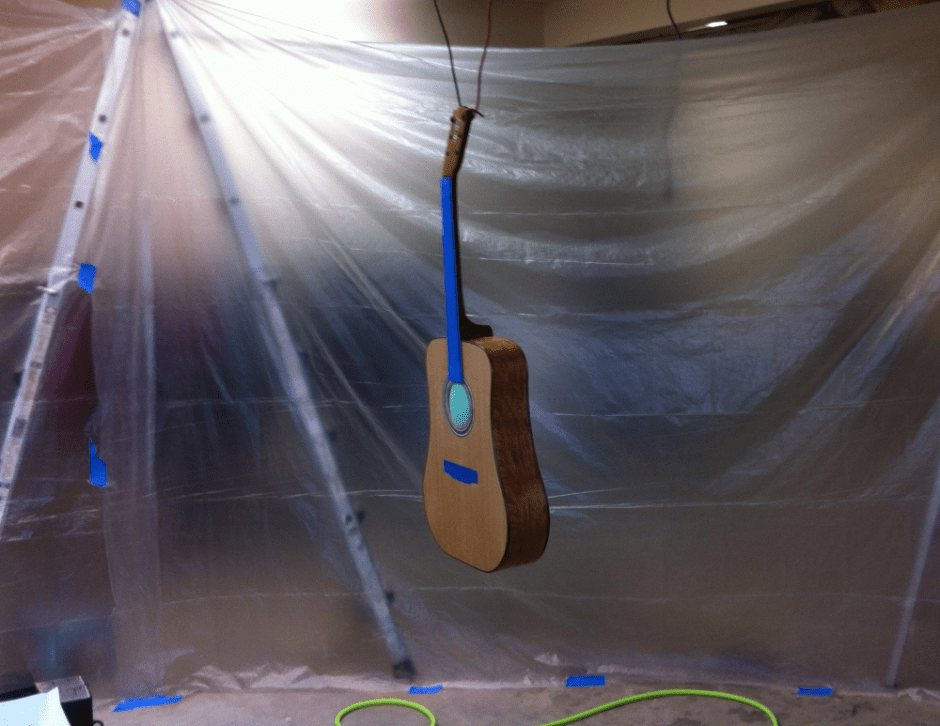
I used some pieces of old foam to fill up the soundhole to keep lacquer from getting in, if I did it again I’d make sure to put a plastic coffee can lid between the foam and the soundboard as J. Sevy did, I had trouble with the foam sticking to the rim of the soundhole. But it worked okay despite.

The picture below shows the guitar ready for finishing.

I applied a water based wood filler over the mahogany to try and fill in the pores. I wasn’t very happy with how the filler worked for me, I should have tried harder to match the color of the mahogany. If I ever do this again I don’t think I’ll use this type of wood filler. If I was painting the guitar then I think it would be perfect, but I just didn’t like it for my application (then again I’m the novice of novice finishers so what do I know).

After the filler had dried I sanded and wiped down the guitar and started spraying on the lacquer. I sprayed a couple of coats on before flattening down the bumps with wet sanding. I repeated this process a couple more times.
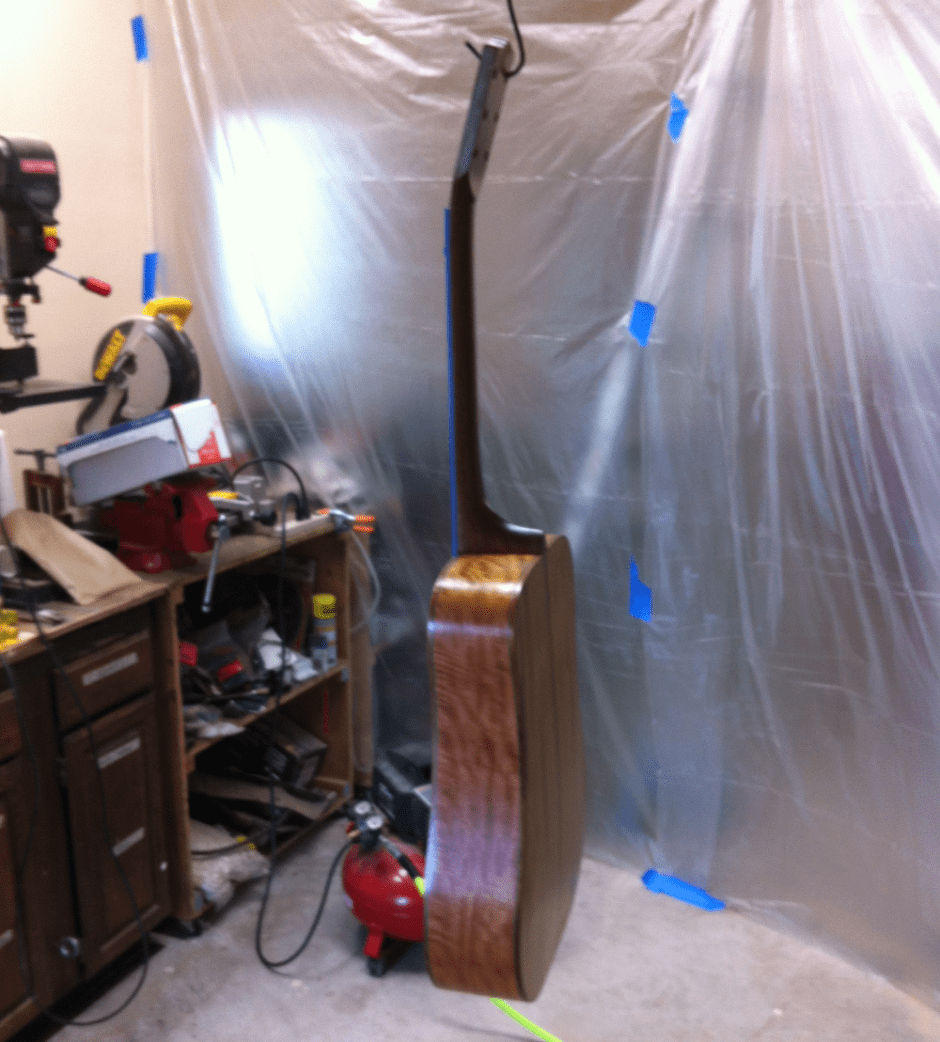
Once I finished applying the lacquer I moved on to buffing. I just used some automotive buffing compound. The picture below shows the finish on the back of the body after the first bout of buffing.

And after a couple more rounds…

Once the finish was done I only had to install the frets, glue on the bridge, fit the nut and saddle and then put the strings on!! I have to admit it was around this point that the quality of my work declined, all I wanted to do was hear what this thing was going to sound like, and so quality was sacrificed for speed…
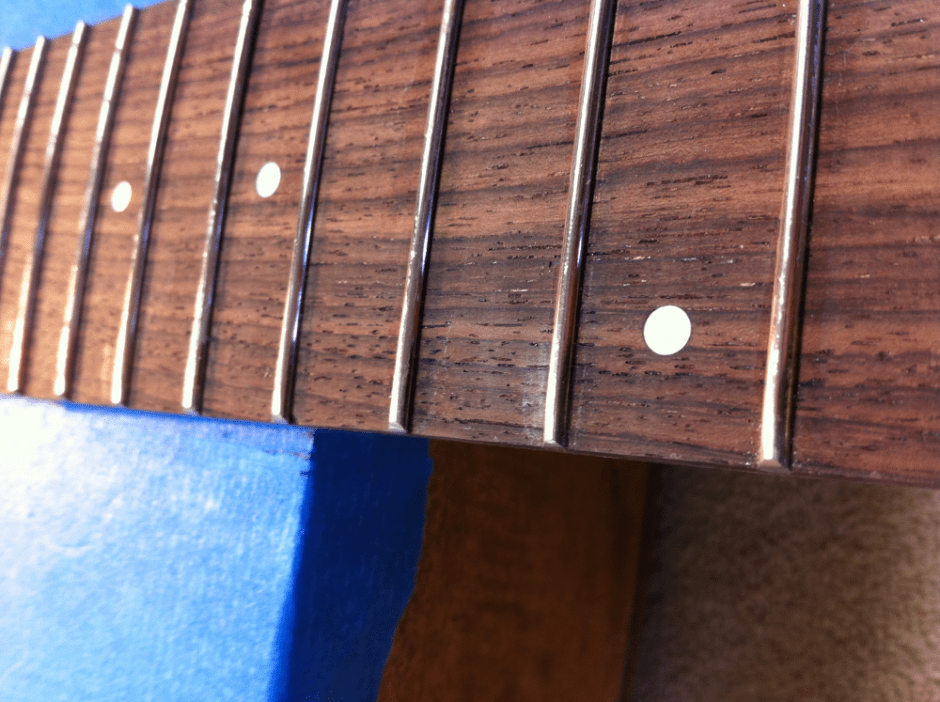
Installing the frets wasn’t too bad. I put a strip of glue on the barbs and then carefully hammered them in leaving a little bit extra sticking out as shown in the picture.

When the glue dried I cut them off with some end snips and filed down the ends as shown below. I also used the file on the tops of the frets to knock down any high spots.
Gluing the bridge on wasn’t too bad either. I setup my clamping system before I used any glue and that made it go real easy. I had already made a clamping caul that fit in between the soundboard bracing back when I was making the soundboard bracing as suggested by Natelson and Cumpiano. That worked great.


Once the glue dried I finished drilling out the bridge holes into the soundboard and bridge brace below. I applied a simple oil finish to the bridge (the same for the fretboard).

I made a small slot for the nut with the depth stop fretsaw that I bought. I setup a guide as shown below and just kept making cuts until I’d made the whole slot.


And lastly I shaped both the nut and saddle. I made them out of bone (its smelly stuff and I don’ t think the dust is very good for a person to breathe). I cut them down to the rough dimensions with a hand saw and then sanded them down until I was satisfied with their shape, I found the fretboard radiusing board to be particularly helpful.

After I finished the nut and saddle I installed the tuning machines and put the strings on for the first time. That took some time; I had to fit each bridge pin for the first time so that the strings would sit properly in their holes. I also had to cut groves in the nut for the strings to sit in which was kind of a pain since I don’t really have the right tools for doing that, but I managed with my fretsaw. And then I was done.

| < Back | The Build Process | Next > |
Planning and Design | Fret Spacing Calculation | Template and Workboard | Building the Neck | Making the Body Plates | Soundhole Rosette | Soundboard Bracing | Bending the Sides | Gluing Sides to the Soundboard | Creating and Installing the Back Plate | Binding the Body | Making the Dovetail Neck Joint | Carving the Neck | Making the Fretboard | Making the Bridge | Creating the Headstock Inlay | Finishing | The End Product

You are a FREAKING AWESOME human being!!!!!!
Haha, well thanks, hope it was helpful 😉
I am a woodworker with “intermediate” skills, but I have never made an instrument. Your blog is very well written and organized, including the photos. I intend to refer to it as I make my first guitar, which will be a gift to my son “the player”. How did you achieve the excellent photos used in this article?
I’m glad to hear it, I hope it will be helpful when you’re building. Believe it or not I actually took the vast majority with an iPhone 4 I had at the time, including the photo on the home page.
You have good skills with the IPhone. Thanks for the quick reply.
From the pictures, the top looks lighter than the back and sides. Are they the same species of mahogany, and have they been sprayed with lacquer in the same manner?
You observed correctly, the top soundboard is Sitka spruce and the back and sides are mahogany. They were sprayed with lacquer in the same way.
Just wow. Can’t believe how beautiful the mahogany is, especially the sides. Awesome job. And I love the rosette, ironic that you weren’t going to do the mother of pearl originally.
Thanks! Glad you like it.
Awesome to follow your process. What water based wood filler did you use? Did you use a single application? Squeege it in?
Thanks! I used this wood filler: https://www.woodcraft.com/products/timbermate-wood-filler-water-based-8-oz-natural but to be honest I wouldn’t have used it again, I was unhappy with the color, something transparent or clear I think would have been much nicer.