Of any part of this guitar the headstock inlay was by far my most ambitious. The advice I read suggested a first time guitar builder do something simple and realistic, which made a lot of sense, but I also wanted to do something that was meaningful to me. After a few days of thought meaning had beaten down simplicity and I’d settled on the script shown below.

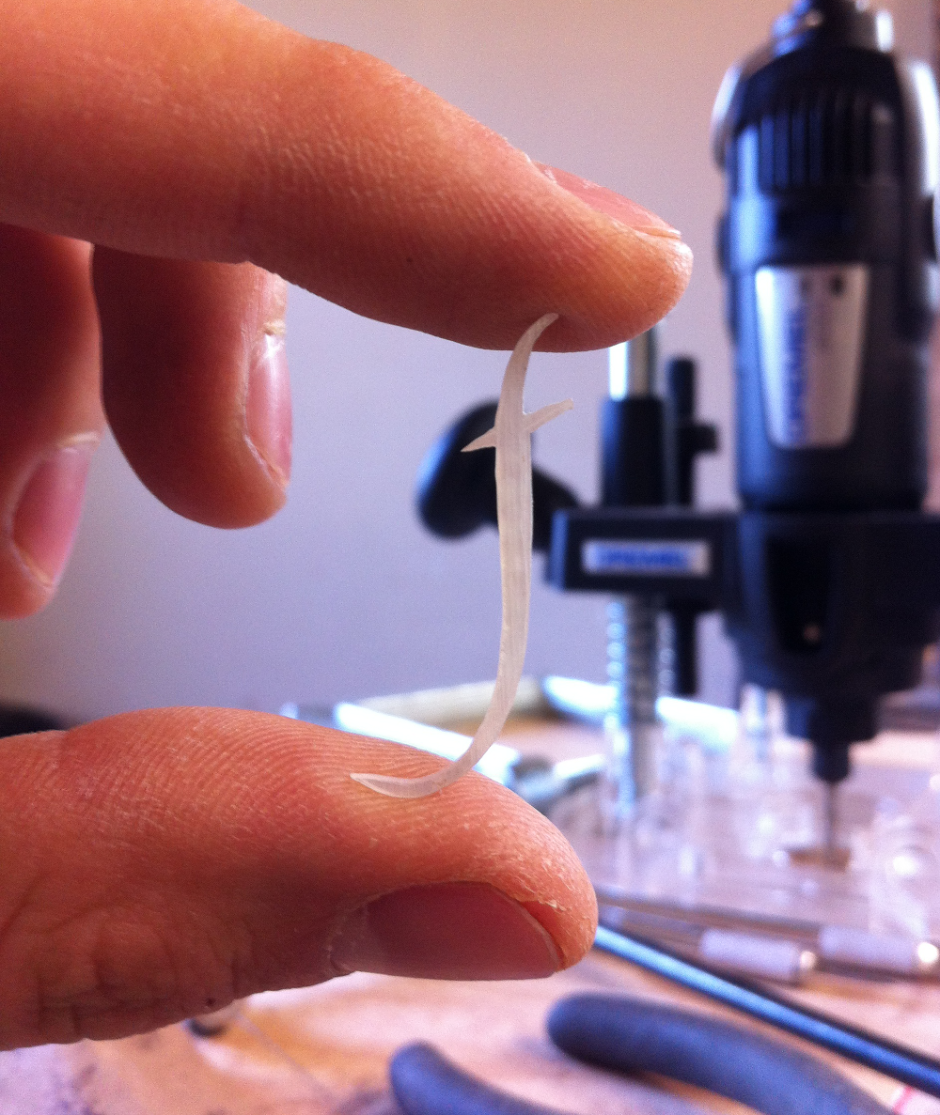
I bought some sheets of abalone and a lot more fine jewelers blades from Stewmac and had my first go at it, which is shown below. It wasn’t a perfect f, but it helped me think that maybe I could do it.
So I printed out a couple of copies of the script and cut out each letter. I then glued a letter onto a sheet of abalone with just regular wood glue and started cutting. I was a little worried the paper would just tear when I tried to cut it, but the fine blades did a great job. Once the letter was cut out I’d finish up any rough areas with sand paper and if I liked how it turned out I kept it, if I didn’t then I just kept making that letter until I did. It took a while, but I found that I kind of enjoyed it, it was slow and simple and I didn’t have to think hard.

Once all of the letters were cut out I arranged them on the headstock in the position that I wanted and marked them all out. After that I glued on the first letter with regular wood glue and used a sharp razor blade to very carefully cut the wood around the abalone letter. I then carefully pried the letter off and started to remove the wood. I used a razor knife blade to carve out the really small areas of the inlay and for the wider parts I used a dremel tool with a router attachment. I ended up making my own bits though since the smallest bits I could find were still a little big and they cost a lot of money. So I bought a cheap pack of 1/8″ collet drywall bits. I then put a bit into the dremel and turned it on then I started grinding down the bit using a bench grinder until I got it down to a very small point, by grinding the bit down with the bit spinning in the dremel it kept the bit perfectly balanced, which is critical since even the slightest wobble would significantly increase the effective width of the tiny bit. I then turned off the dremel and very carefully put a tip on the end of the pointed bit so that it was like a tiny flat tip screw driver. I then would check to make sure the bit was still balanced and that was that. I was able to make as many as I wanted and in a fairly small amount of time. I couldn’t cut fast or deep with the bits by any means, but it did allow me to cut very fine channels in the wood which was exactly what I needed. And so I went until I was able to get the abalone letter to fit snugly into the headstock.

I would then glue the letter in and scrape it flush to the headstock once it was dry. After that I’d move on to the next letter and repeat the process until they were all complete.
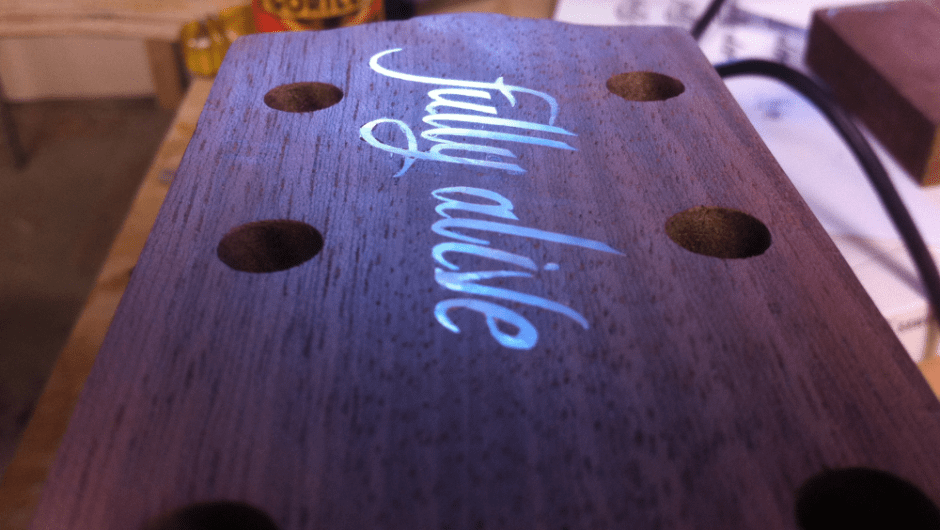
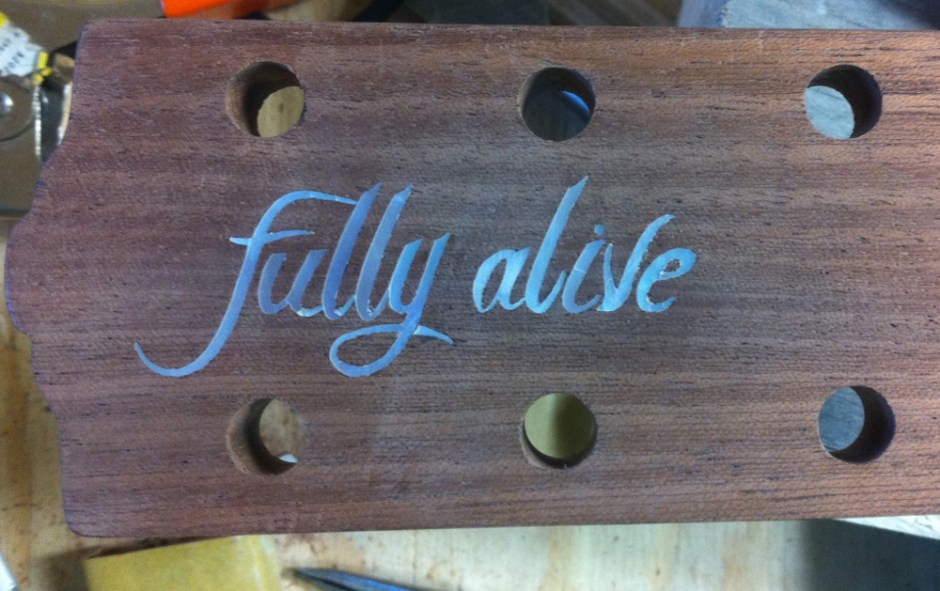
I was very pleased with how it turned out. And also eager to get on with finishing the guitar so that I could hear what it sounded like.
| < Back | The Build Process | Next > |
Planning and Design | Fret Spacing Calculation | Template and Workboard | Building the Neck | Making the Body Plates | Soundhole Rosette | Soundboard Bracing | Bending the Sides | Gluing Sides to the Soundboard | Creating and Installing the Back Plate | Binding the Body | Making the Dovetail Neck Joint | Carving the Neck | Making the Fretboard | Making the Bridge | Creating the Headstock Inlay | Finishing | The End Product

Your inlay looks very very sharp!! Awsome work youre a natural!!